
You want to give that kitchen a fresh new look? Changing out the flooring can make a huge difference. The great thing about changing flooring is that you can replace it at any time. In other words, it can be a stand-alone project or something you do as a part of renovating the entire kitchen. Regardless, your kitchen will look amazing and the value of your home will benefit.
In most cases, a new floor can be placed over an old floor as long as the sub-flooring is in good condition. Just keep in mind that if the flooring will be connecting to other rooms, there would be issues with transitions & height. Therefore, while this is an option, the better choice would be to tear out the old floor and have new flooring installed, especially if the new floor is hardwood. Many manufacturers require a minimum thickness of the sub-floor and underlayment combined for warranty.
Let us say you wanted to install vinyl flooring. For this type of flooring, the best option is to buy sheets. Just be sure that you use the type of adhesive recommended by the manufacturer in that it is different from other adhesives. You should first create a template made of paper of the floor perimeter and measurements. Roll the paper along the edges of the room and then tape it into place any place where there would be a seam or a place where the tile would turn a corner.
Using the template you created, you can then cut the sheet of vinyl, making sure you allow a minimum of 5% more than the actual room size for cutting and waste. Depending on the pattern, you may need to allow even more so you can match the pattern up correctly.
Before you actually put adhesive down on the floor, be sure you do a test fit with all the pieces. Once you know that pieces are cur correctly, you can then use the adhesive, starting with a small section of the floor and working the piece of vinyl down before moving on to the next section. Do this for all of the cut pieces, allowing overlap on the first piece at the area where the seam will be.
You then want to lay a straight edge down along the overlap and line it up with the seam. Cut down both pieces of the vinyl from one end to the other end. Once all the pieces are in place, you want to remove any of the scrap pieces. Then apply adhesive to the edges using a roller and then press the seams together to fully bond. It is recommended to use seam seal in most cases.
Keep in mind that some of the vinyl may only need some perimeter bonding at the seams and edges. In that case, you should lay a sheet of vinyl down so it fits into the corners well. Once in place, cut the seam, spread some adhesive under the seam and then put pressure on the edges to make it seal.
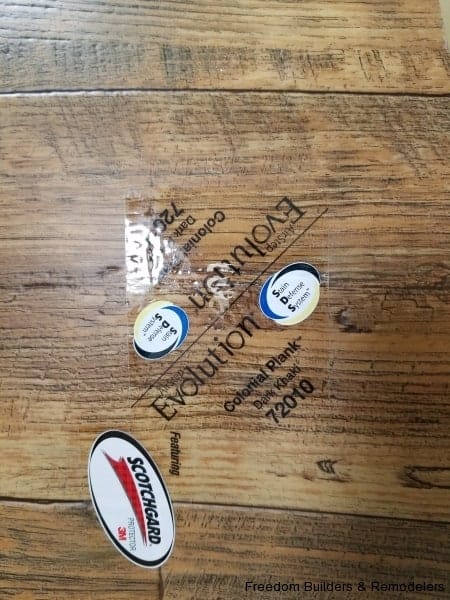
Interested in replacing your flooring with hardwood or ceramic tile flooring? You can follow the instructions by the manufacturer or a self help book. However, with these types of floors, there is a bit more work involved, special tools and some level of expertise & experience are most beneficial. Therefore, if you have never put hardwood or ceramic tile flooring down, you should expect to get some help or hire a professional.
Contact Freedom Builders & Remodelers 815-985-0310. We’ll be happy to help you Kitchen and Bath flooring needs